Maqpie is a simplest tool for enabling user to user communication in any product. For the most integrations it is only takes few minutes. You could integrate Maqpie into your SaaS application, social network or marketplace. In this guide I am going to share how best integrate Maqpie into marketplace.
The integration process is very simple and consist few steps:
- Integrate Maqpie javascript widget to send basic user data, such as first name, last name, email and unique identifier for both buyer and seller.
- Integrate with Maqpie API to setup contact lists when buyer is ready to talk to seller.
- Remove buyer and seller from each other contacts when deal is over.
Step 1: Integrate JS widget and send user data
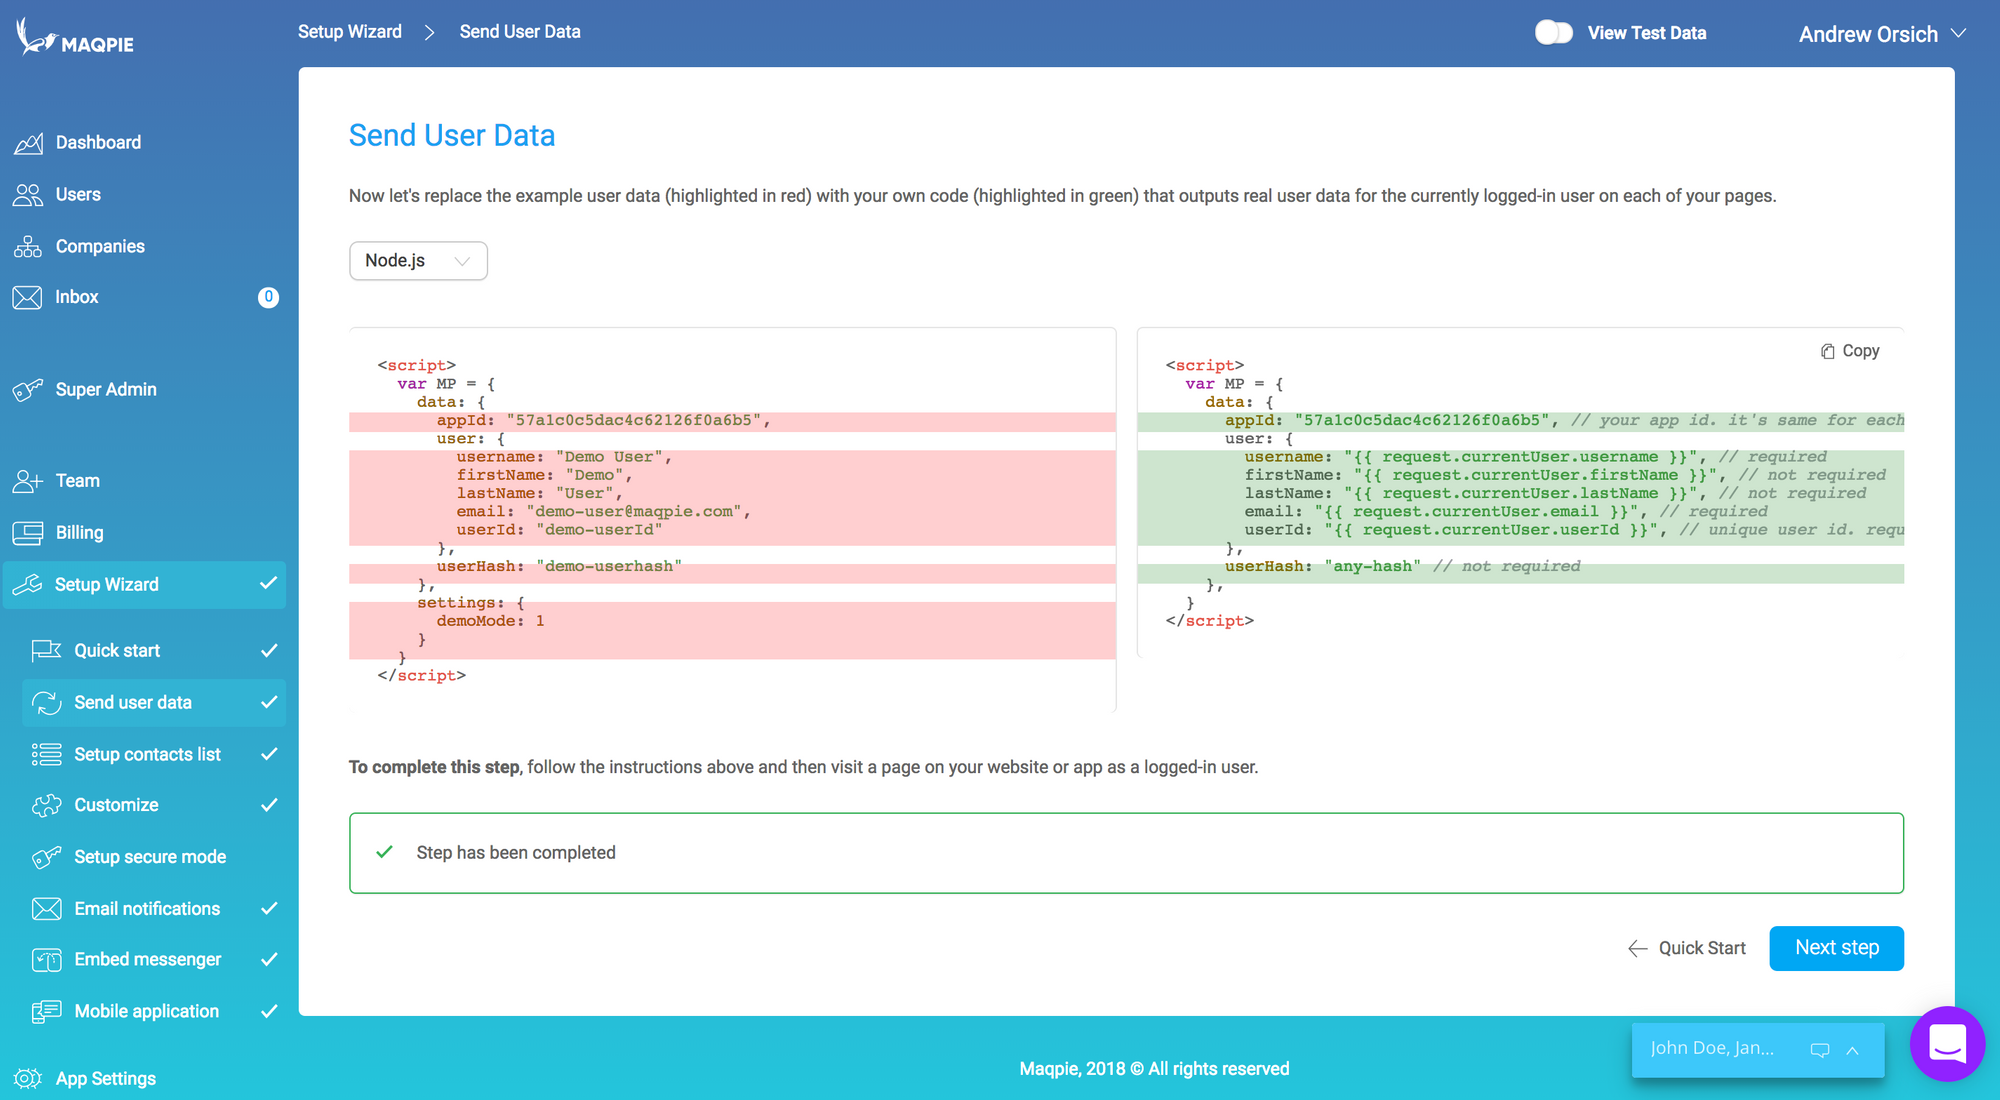
The best way to integrate chat widget Javascript is to signup a Maqpie account and follow integration wizard. For marketplace integration you can just skip `Setup contacts list`.

Step 2: Integrate API and add buyer and seller to the contact list of each other
In this step you need to integrate with Maqpie API and setup contact lists for the buyer and seller when they ready to talk. Let imagine you have two users of your marketplace:
- Jane Doe — a buyer.
- John Doe — a seller.
Typically at marketplaces buyer workflow looks like this:
- Jane want to buy a product from John
- Jane sends contact (or buy) request to John
- John sees Janes request and approve it.
- Once contact request approved John and Jane can talk to other.
- After transaction completed, John and Jane shouldn't be able to talk
When integrating Maqpie steps 1-3 should be implement within your product. To implement step #4, once contact request approved you'll need to use our Add Contacts API to add Jane to the contacts of John, so they can talk and negotiate on the the product.
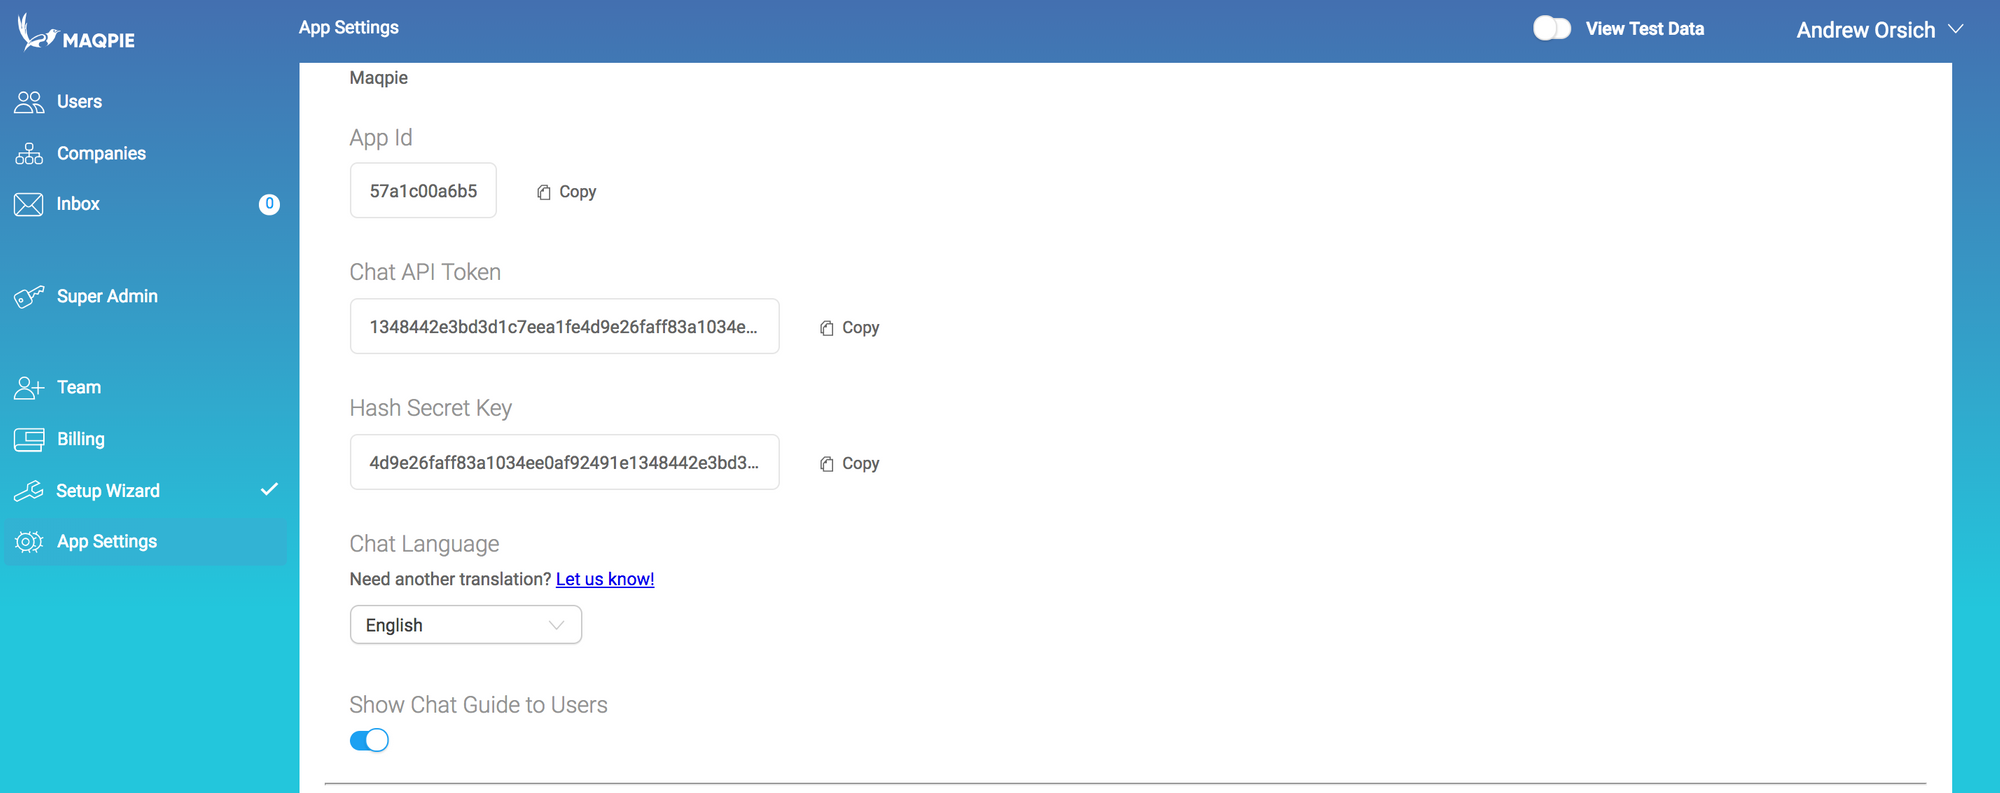
To start go to the App Settings on admin site and copy your API Token and AppId:

Once you have your API token you can start integrating with our API. We use Axios in the example below:
/* An example of javascript (node) creating Axios instances to talk to Maqpie API*/
const maqpieApiInstance = axios.create({
  baseURL: 'https://api.maqpie.com/',
  headers: { 'Authorization': `Bearer ${API_TOKEN_FROM_ADMIN}` },
});
To setup contact lists for Jane and John you need to perform following request:
// connect John and Jane, so the can talk
maqpieApiInstance.post(`/integration/users/${johnId}/contacts/add?appId=${APP_ID_FROM_ADMIN}`, {
  contactIds: [janeId],
});
After this request has been performed, John and Jane can start talking to each other.
In some case if you want to connect users before they even logged in into your product (and their info sent to Maqpie) you will need to create users using our API. You should use Bulk User Add endpoint to do this:
maqpieApiInstance.post(`/integration/users/bulk-add?appId=${appId}`, {
  users: [
    {
      vendorId: 'JaneId',
      avatarUrl: 'https://example.org/jane_avatar.jpeg',
      firstName: 'Jane',
      lastName: 'Doe',
      username: 'jane',
      email: "jane@example.com",
    }, {
      vendorId: 'JohnId',
      avatarUrl: 'http://example.org/john_avatar.jpeg',
      firstName: 'John',
      lastName: 'Doe',
      username: 'john',
      email: "john@example.com",
    },
  ],
});
Step 3: Remove buyer and seller from contacts of each other
For some kind of integrations you would want to disconnect buyer and seller after transaction has been completed. You should use Remove user contacts endpoint to do that:
// remove John and Jane from the contacts of each other
maqpieApiInstance.post(`/integration/users/${johnId}/contacts/remove?appId=${APP_ID_FROM_ADMIN}`, {
  contactIds: [janeId],
});
That's it! To integrate full featured buyer to seller chat into your marketplace you'll only need 30 minutes :)
What's next?
If you don't have an account yet - you can create it here. If you have any troubles connecting Maqpie into your Marketplace — just let us know using help bubble in the bottom right corner of our landing site or admin site :)